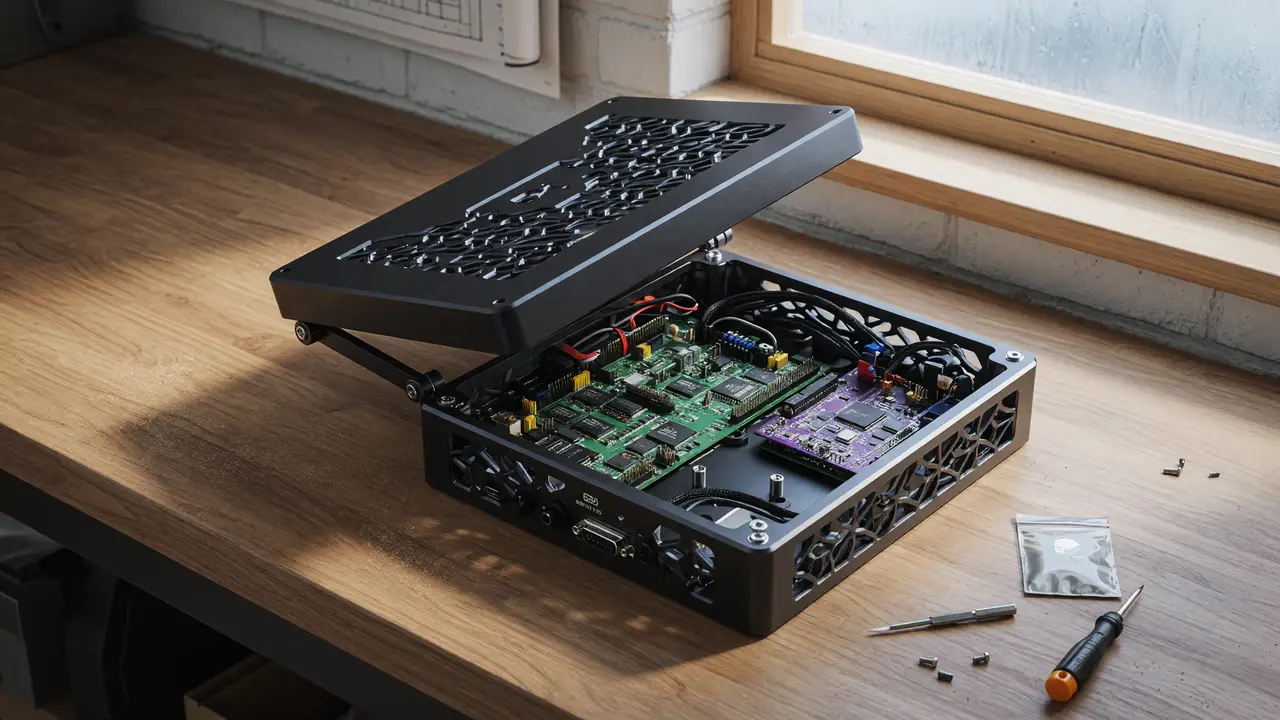
Step-by-Step: How to Design a Custom Electronics Enclosure in Blender
Learn how to design precise 3D-printable electronics enclosures in Blender 4.2 LTS using CAD Sketcher, Hard Ops, and MeshMachine, with workflows for tolerances, wall thickness, and export.
Blender can handle functional electronics enclosures, but most makers still default to Fusion 360 when tight dimensions matter. The difference usually comes down to workflow rather than raw capability. With a few targeted tools and habits, Blender 4.2 LTS manages wall thickness, tolerances, and mounting bosses well enough for reliable 3D-printed parts.
Preparing Your Blender Environment
Start with Blender 4.2 LTS, released July 16, 2024. It includes two years of support and improved boolean and measurement tools compared with earlier releases.
Install these three add-ons first:
- CAD Sketcher (free) for constraint-based sketching and exact dimension entry.
- Hard Ops / BoxCutter bundle ($38) to speed up clean cutouts and vents with non-destructive booleans.
- MeshMachine ($45–50) for edge cleanup and modifier stacking on functional parts.
Set the scene units to millimeters right away. Open Scene Properties, expand Units, and switch Length to Millimeters. That single change prevents the 1000× scale problems that ruin most STL exports.
Precision Modeling Workflow
Begin with a cube scaled to your target outer dimensions. Apply the scale (Ctrl+A) so every later operation starts from a clean 1.0 factor.
Switch to CAD Sketcher and draw the floor plan with precise measurements. Constrain the edges to the PCB outline plus your chosen clearance—0.5 mm is typical. Extrude the walls to 2.0–2.5 mm thick. That range gives decent strength without wasting print time on a 0.4 mm nozzle.
Wall thickness guidelines:
- Minimum: 1.5 mm
- Recommended: 2.0–2.5 mm
- High-impact or outdoor use: 3.0 mm
Check thickness with the built-in 3D Print Toolbox after every major change.
Here is the overall workflow in diagram form:
flowchart TD
    A[Prepare Environment] --> B[Install add-ons & set units to mm]
    B --> C[Start with scaled cube]
    C --> D[Draw precise floor plan in CAD Sketcher]
    D --> E[Extrude walls to 2.0-2.5 mm]
    E --> F[Add bosses & cutouts with booleans]
    F --> G[Clean edges with MeshMachine]
    G --> H[Run manifold & thickness checks]
    H --> I[Export STL or 3MF with scale fix]
Adding Functional Features
Mounting bosses and cutouts rely on boolean operations. BoxCutter makes this straightforward: draw a rectangle for a USB port or a cylinder for an M3 hole, then subtract it.
Use these clearance values:
- PCB slip-fit: +0.3–0.5 mm per side
- M3 clearance holes: 3.2–3.4 mm diameter
- Boss outer diameter: 6.5–7.5 mm
- Boss height: 4–6 mm above the floor
After the booleans, run MeshMachine’s cleanup tools to restore clean edge loops. This avoids non-manifold geometry that slicers will reject.
Validating Geometry for Print
Before export, run three quick checks:
- Make Manifold (3D Print Toolbox)
- Recalculate normals (Shift+N)
- Merge by distance at a 0.001 mm threshold
Run a wall-thickness analysis and fix anything under 0.8 mm. Apply all modifiers, then use “Selection Only” when saving so hidden objects don’t break the file.
Export Settings and Common Pitfalls
Export as STL or 3MF. Scale is the most common failure point. In the STL exporter, set the scale factor to 1000 when your scene units are millimeters.
# Quick verification in terminal (optional)
# Open the STL in a viewer and confirm dimensions match your model
Here’s how Blender stacks up against Fusion 360 Personal for enclosure work:
| Aspect | Blender | Fusion 360 Personal |
|---|---|---|
| Price | 100% free | Free for hobbyists |
| Core Strength | Polygonal modeling + booleans | Parametric constraints |
| Dimensional Accuracy | Manual unit setup required | Native mm + GD&T |
| Export | STL/3MF after scale fix | Direct accurate dimensions |
Practical Takeaways
- Set units to millimeters at the very start.
- Keep wall thickness between 2.0–2.5 mm for standard FDM prints.
- Add 0.3–0.5 mm clearance around PCBs and connectors.
- Run the 3D Print Toolbox manifold and thickness checks before every export.
- Preview the file in your slicer (Cura, PrusaSlicer, or Bambu Studio) to catch hidden geometry.
Blender 4.2 LTS plus the three add-ons above gives you a completely free route to usable enclosures. The extra steps around units and manifold checks are the real trade-off for staying outside native CAD tools. Once the workflow feels familiar, iteration speed often matches or beats parametric options for many enclosure projects.