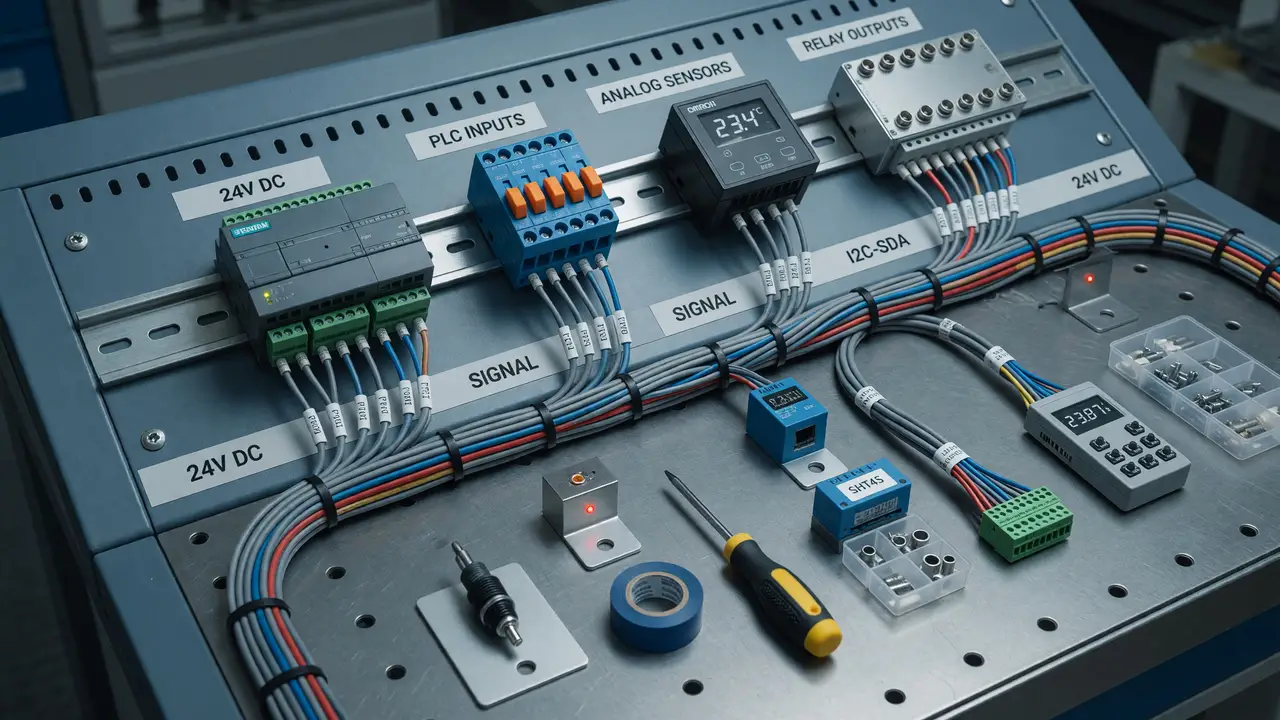
Designing DIN-Rail Mounts: How to Organize Your Prototyping Bench Like an Industrial Panel
Organize your prototyping bench using industrial DIN-rail mounts. Guide covers TS35 specs, Raspberry Pi/Arduino adapters, 3D prints, and terminal blocks for tidy setups.
Prototyping benches often turn into a mess of tangled wires and scattered boards. DIN-rail systems borrowed from industrial control panels bring order without sacrificing flexibility.
TS35 rails and compatible mounts let you treat your workspace like a miniature electrical cabinet. Components snap into place, rearrange quickly, and scale from a single Raspberry Pi to a full sensor array.
TS35 Rail Specifications and Load Ratings
EN/IEC 60715 defines the 35 mm top-hat profile used everywhere from factory floors to lab benches. Two heights dominate: the common 7.5 mm version and the stiffer 15 mm variant.
Key published ratings include:
- 50–75 kg/m on steel rail mounted at 300 mm centers
- Up to 100+ kg/m on heavy-duty 15 mm aluminum rail
- Electro-galvanized steel (1.0 mm thick) as the default; aluminum (1.2–1.5 mm) for lighter weight or corrosion resistance
Derating applies when rails run horizontally or span longer distances. Manufacturers such as Phoenix Contact list exact values—NS 35/7.5 PERF rail carries 60 kg/m in their catalog.
Commercial Mounts for Raspberry Pi and Arduino
Ready-made adapters eliminate custom fabrication for the most common single-board computers.
| Platform | Supplier | Part Example | Price Range | Stock Notes |
|---|---|---|---|---|
| Raspberry Pi | Digi-Key | 1593DINPIBK | $8.50–$12.75 | >300 units |
| Raspberry Pi | Mouser | 992-DINPI-4 | $7.90–$11.40 | >150 units |
| Arduino Uno | Digi-Key | 1921-1000-ND | $9.85 | Screw or clip fit |
| Arduino | Mouser | 485-2259 | $6.75 | Generic ABS bracket |
| Pi 4 / Uno | Amazon | Yahboom / GeeekPi | $9.99–$16.99 | Prime shipping |
All listed parts accept standard 35 mm rail and include mounting hardware.
3D-Printed DIN-Rail Clips and Brackets
When commercial options fall short, printable designs offer rapid customization. Popular models on Printables and Thingiverse routinely exceed 30 000 downloads.
Recommended print parameters from high-rated files include 3–4 mm wall thickness, 30 % infill, and PETG filament. Many incorporate M3 or M4 captive-nut slots for secure attachment to enclosures or L-brackets.
Common successful designs:
- Universal DIN Rail Mount Clip (Printables, 48 k downloads)
- Raspberry Pi 4 DIN Rail Mount (Printables, 31 k downloads)
- DIN Rail Clip v2 (Thingiverse 2758461, 124 k downloads)
Power Distribution Using Terminal Blocks
Once boards sit on the rail, clean power distribution becomes straightforward. Phoenix Contact and WAGO blocks snap directly onto the same TS35 profile.
- Phoenix UK 2.5 N feed-through: $1.42 each (100+ qty), 24 A, 800 V
- Phoenix PTFIX 2.5/5-NS35 distribution block: $9.75 for five positions
- WAGO 280-901 CAGE CLAMP block: $1.18 each, 20 A, 800 V
- WAGO 285-1185 five-position power block: $14.60, 32 A, 690 V
Lever-nut style 221-series connectors provide tool-free bench wiring when permanent blocks are unnecessary.
Practical Mounting and User Results
Recent project logs show consistent patterns. A 2024 r/electronics thread described three Raspberry Pi 4s plus an Arduino Mega mounted on one meter of aluminum rail using printed clips and WAGO 221 connectors. The builder added 3D-printed feet to raise the rail above plywood.
Hackaday.io builders report stable 24 V distribution across 1.2 m runs with no measurable voltage drop when using Phoenix UK-series blocks. Multiple users note that 15 mm aluminum rail resists flex better on spans over 600 mm.
Typical installation sequence:
- Cut rail to length and deburr edges
- Secure rail every 300 mm with printed L-brackets or metal feet
- Snap boards and terminal blocks into position
- Route wiring along the rail using cable ducts or zip-tie anchors
Conclusion
DIN-rail hardware turns a chaotic bench into a modular, rearrangeable system. Standard TS35 profiles, inexpensive commercial or printed mounts, and proven terminal blocks deliver industrial-grade organization at hobbyist cost. Start with one meter of rail and a handful of clips; the layout discipline scales naturally from there.