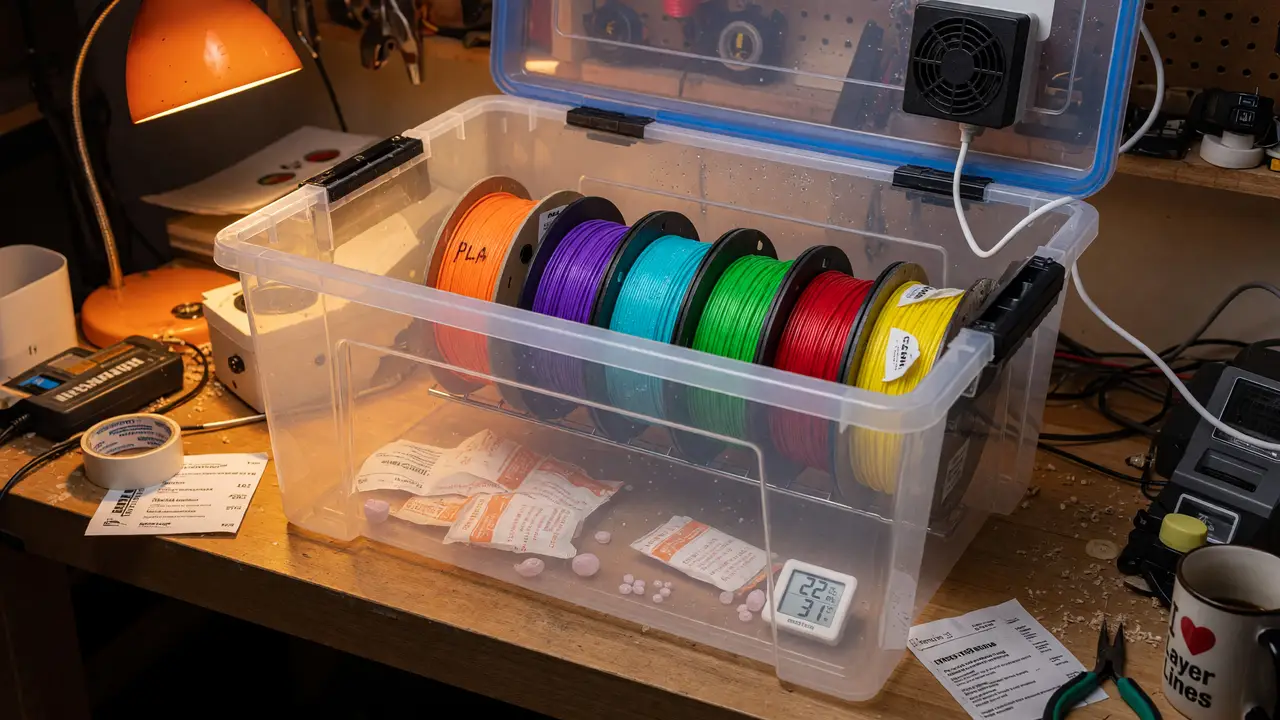
DIY Filament Dryer: Do You Really Need a Dedicated Machine?
Compare commercial filament dryers vs. a DIY food dehydrator for 3D printing. Real performance data, costs, and when each option makes sense for PLA, PETG, nylon and more.
Filament moisture causes plenty of failed prints. Plenty of makers still wonder whether a dedicated dryer is worth the money when a basic $35 food dehydrator often removes moisture faster.
Commercial Dryers: Specs and Pricing
Three models come up most often. Their real-world performance differs once you measure actual spool temperatures and airflow.
| Model | Price | Max Temp | Capacity | Power | Humidity Display | Print-While-Drying |
|---|---|---|---|---|---|---|
| Sunlu FilaDryer S2 | $69.99 | 70 °C | 1 spool | 48 W | Yes | Yes |
| Eibos Cyclopes | $50–88 | 70 °C | 2 × 1 kg | 100 W | Yes | Yes |
| Polymaker PolyDryer | $79.99 | ~70 °C | 1 spool | 68 W | No | Yes |
Airflow stays modest across the board. In sponge-evaporation tests, the Eibos and Polymaker pulled 75–92 % of the moisture in 30 minutes at 56–63 °C. The Sunlu only reached 23 % under the same conditions.
The Food-Dehydrator DIY Route
A round food dehydrator (Rosewill, Devanti, or similar) sits at the center of most builds. You cut the center mesh out of two or three trays to fit spools, notch the side for a PTFE tube, and run the unit on its lowest setting.
Typical 2024 parts cost:
- Dehydrator: $30–45
- PTFE tube + fittings: $10–15
- Optional 5-gallon bucket enclosure: ~$4
Total: $35–55. The setup holds several spools at once, hits 70–75 °C without trouble, and keeps venting moist air. Bambu Lab and Reddit users have noted these advantages repeatedly.
Here’s the typical build flow:
flowchart TD
    A[Start with round food dehydrator] --> B[Cut center mesh from 2-3 trays]
    B --> C[Notch side wall for PTFE tube]
    C --> D[Run on lowest heat setting 70-75 °C]
    D --> E[Test spool fit and airflow]
    E --> F[Dry filament then move to sealed container]
Measured Drying Performance
Weight-loss tests show consistent patterns. Food dehydrators match or beat the commercial units on PLA, PETG, and ABS thanks to stronger airflow and steadier spool temperatures. Dedicated enclosures tend to recirculate the same humid air, while open-vent dehydrators move hundreds of liters per hour.
None of the 70 °C-class options, DIY or commercial, reach the 80–95 °C range filament makers recommend for nylon.
A Sunlu S2 removed about 3 g of water from a 970 g PLA spool over six hours. The same starting conditions on a dehydrator took four to five hours.
Practical Workflow Trade-offs
Dedicated dryers win on convenience. Drop in a spool, hit a preset, and print straight from the box. Food dehydrators require moving the filament into a sealed container afterward and run louder.
Forum consensus from 2023–2024 splits along clear lines:
- Bulk drying or heavily wet filament → food dehydrator
- Regular nylon printing in humid conditions → commercial unit with extra temperature headroom
Filament Requirements and Equipment Limits
| Filament | Recommended Temp & Time | DIY Food Dehydrator | Dedicated Dryers (≤70 °C) |
|---|---|---|---|
| PLA | 45–55 °C, 4–8 h | Adequate | Adequate |
| PETG | 55–70 °C, 4–8 h | Adequate | Adequate |
| TPU | 50–70 °C, 4–8 h | Adequate | Adequate |
| Nylon | 70–95 °C, 6–24 h | Marginal | Marginal |
Most makers therefore keep a commercial unit for seamless workflow and rely on a dehydrator for the rest.
Decision Framework
Print nylon often or want one-button operation? A dedicated dryer in the $50–80 range solves that specific problem. For most PLA, PETG, and TPU users who just need dry filament before a print, a $35–45 food dehydrator removes moisture at least as well and costs less over time.
Airflow and actual spool temperature matter more than the hardware itself. Pick the approach that fits your materials and how much manual handling you’re willing to do.