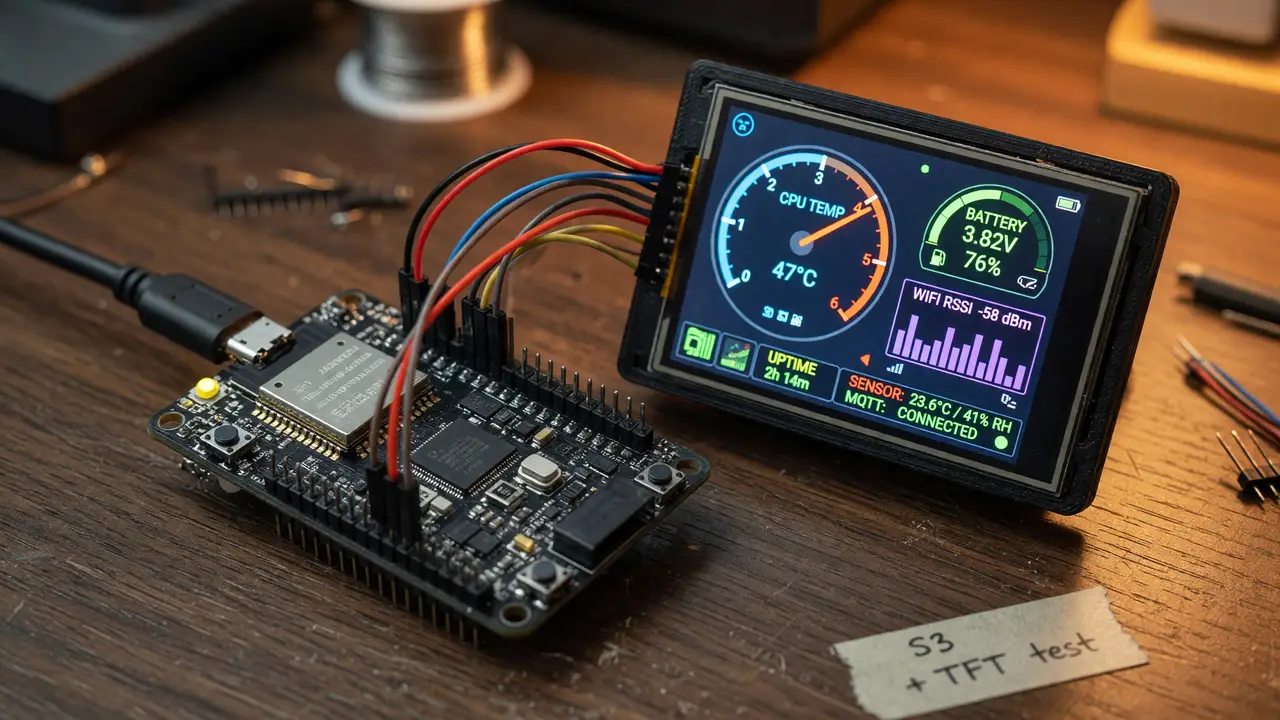
Step-by-Step: Creating a Custom Digital Dashboard with ESP32-S3
Build a responsive custom digital dashboard using the ESP32-S3, LVGL, and color touchscreens. Hardware options, setup guide, code examples, and performance notes for under $25.
The ESP32-S3 packs dual-core 240 MHz performance, Wi-Fi, and plenty of GPIO for driving color touchscreens. The real question is whether a board that costs under $10 can handle a responsive, always-connected dashboard without lag or memory issues.
Hardware Foundation
At its core sits a dual-core Xtensa LX7 processor. Running both cores at 240 MHz delivers 1329.92 CoreMark. The chip includes 512 KB of on-chip SRAM and supports up to 32 MB of external PSRAM over Octal SPI. Dashboard projects usually pick modules with at least 8 MB PSRAM so LVGL framebuffers and Wi-Fi buffers stay in fast memory.
Wireless specs cover 802.11b/g/n at up to 150 Mbps in 1T1R mode plus Bluetooth 5 LE with long-range support. Forty-five GPIOs leave room for parallel LCD interfaces, touch interrupts, and sensor buses.
Board and Display Options
Three display pairings show up in most recent builds. Here’s how the common choices compare:
| Module | Size & Resolution | Interface | Touch | Typical Price | Notes |
|---|---|---|---|---|---|
| LilyGo T-Display-S3 | 1.9” 320×170 | 8080 parallel | Capacitive | $15–23 | Integrated ESP32-S3, best out-of-box option |
| Waveshare 2.4” TFT | 2.4” 320×240 | SPI | Resistive | $10–14 | Needs separate ESP32-S3 board |
| Waveshare 2.9” e-Paper | 2.9” 296×128 | SPI | None | $15–30 | Lowest power, partial refresh |
The LilyGo T-Display-S3 remains the fastest route for most builders. The parallel bus and on-board PSRAM remove the usual bottlenecks.
Development Environment
ESP-IDF v5.5.1 gives solid USB OTG, LCD, and PSRAM support. Start a new project with:
idf.py create-project dashboard
cd dashboard
idf.py set-target esp32s3
Add the LVGL component and the official lv_port_esp32 port, then enable PSRAM in menuconfig under Component config → ESP PSRAM.
Project Architecture
flowchart TD
    A[Wi-Fi Task] -->|sensor data| B[LVGL Event Loop]
    C[Touch Input] --> B
    B --> D[Display Driver]
    D --> E[Parallel LCD]
    B --> F[MQTT Publish]
This setup keeps network and graphics tasks separate. The ULP coprocessor can wake the main cores only when fresh data arrives, which often holds average current under 20 mA.
Implementation Walkthrough
- Initialize the parallel LCD driver with the right timing for the ST7789 or ILI9341 controller.
- Register the LVGL display driver and input device.
- Build a simple screen with labels and a chart widget that refreshes every two seconds.
- Add a Wi-Fi event handler that reconnects automatically and pushes readings over MQTT.
A minimal LVGL screen update looks like this:
lv_obj_t *label = lv_label_create(lv_scr_act());
lv_label_set_text(label, "Temp: 23.4 °C");
lv_obj_align(label, LV_ALIGN_CENTER, 0, 0);
Compile and flash with idf.py flash monitor. The first successful build usually finishes in under 90 seconds on a modern machine.
Performance and Power Notes
LVGL runs smoothly at 30–40 fps once PSRAM is enabled and the framebuffer lives in external memory. Without PSRAM, complex screens drop below 15 fps. For always-on use, the 2.9” e-Paper module plus partial refresh brings current draw below 5 mA between updates.
Conclusion
Paired with a parallel display and LVGL, the ESP32-S3 makes a practical custom dashboard for under $25. Start with the LilyGo T-Display-S3, turn on PSRAM, and build the UI in LVGL. The same base scales to larger RGB panels or low-power e-Paper versions once the core data flow is solid.