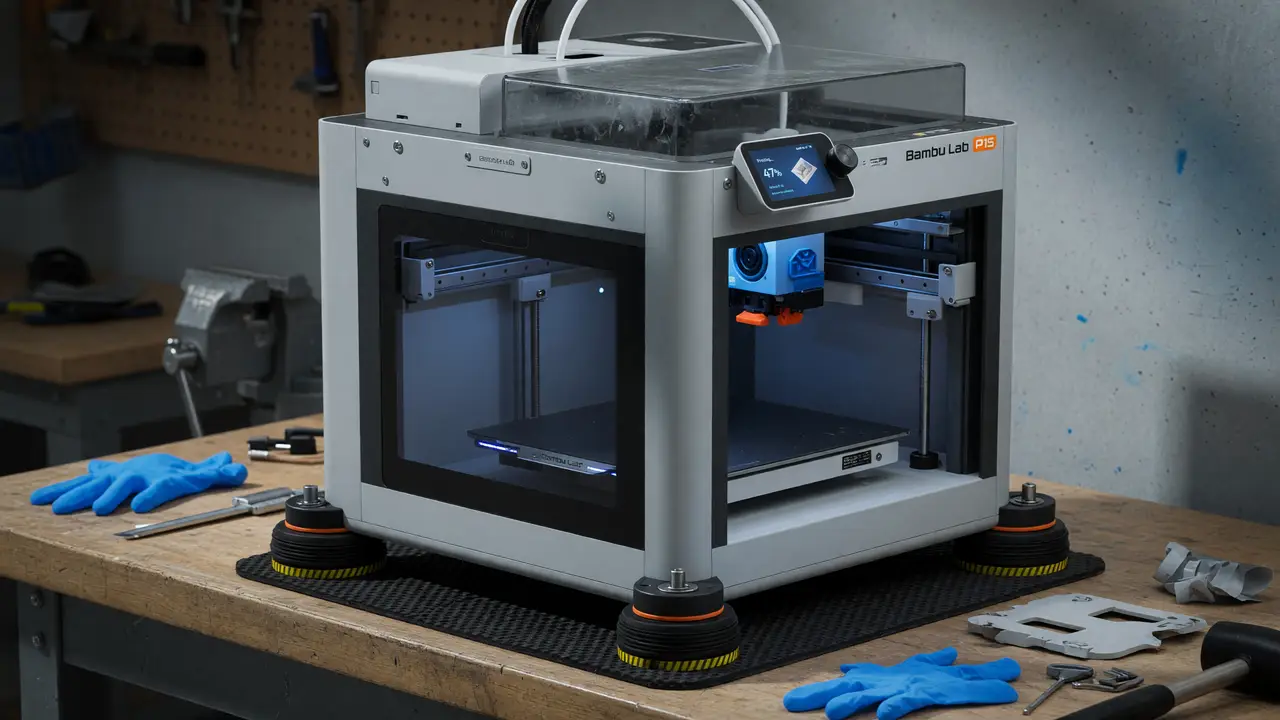
How to Fix Mechanical Noise and Vibrations on Your Bambu Lab P1S
Reduce mechanical hum, belt whine, and table vibrations on your Bambu Lab P1S with firmware calibration, belt tensioning, decoupling methods, lubrication, and print profile tweaks.
Your Bambu Lab P1S prints fast, but the mechanical hum, belt whine, and table-shaking vibrations quickly become intolerable in any shared space. A few targeted fixes tackle both motor resonance and structural transmission without slowing the printer down or hurting reliability.
Run the Motor Noise Cancellation Calibration
Firmware version 01.05.00.00 added a dedicated Motor Noise Cancellation routine for the P1 series. It compensates for stepper motor harmonics during long straight moves and high-speed segments.
Update through the printer menu or Bambu Studio, then head to Device → Calibration → Motor Noise. The full procedure takes 15–26 minutes. Users on r/BambuLab consistently report the largest single noise reduction after this step.
“Big improvement for straight-line humming,” one February 2024 thread summarized after dozens of confirmations.
Later firmware releases (01.06+) keep the calibration, so re-running it after major updates still makes sense.
Verify and Adjust X/Y Belt Tension
Loose or uneven belts create audible vibration and visible ringing. Bambu’s spring-loaded tensioners need manual locking once you set them.
Community consensus points to ~100 Hz for both X and Y belts. Measure by plucking the belt and using a phone tuner app like GuitarTuna. Keep left and right sides of each axis within 2 Hz of each other.
The printer’s built-in Device → Cal → Belt Tension tool plays reference tones for quick checks. Over-tensioning wears bearings faster; under-tensioning brings back ghosting.
Decouple the Printer from Its Surface
Vibrations travel straight through tables and shelves. Two approaches work well here.
Official anti-vibration feet (silica gel, $10.99 for a set of eight) install in minutes and cut down transmitted noise. Package dimensions are 145 × 100 × 45 mm.
For stronger isolation, many users set the printer on a concrete paver on top of a rubber mat or closed-cell foam. Remove the anti-vibration feet in this setup—the extra mass absorbs energy that rubber feet alone can’t handle.
| Method | Cost | Effectiveness | Notes |
|---|---|---|---|
| Official anti-vibration feet | $10.99 | Moderate | Easy install, printer may still oscillate |
| Concrete paver + mat | $15–25 | High | Best for table-transmitted noise |
| Printed TPU feet | <$5 | Variable | Results depend on infill and durometer |
Lubricate Idler Pulleys and Belt Paths
Grinding or squeaking often comes from the idler flanges and rear tensioner contact points. A small amount of grease or light machine oil applied with a syringe clears these noises for many owners.
Start with the Y-axis rear pulleys. Wipe away excess lubricant so dust doesn’t build up. Multiple 2024 reports show complete resolution of high-pitched mechanical sounds after this one maintenance step.
Optimize Print Profiles and Fan Speeds
Mechanical noise rises with acceleration and fan duty cycles. Switching from grid infill to gyroid or rectilinear patterns cuts rapid direction changes. Dropping from Sport or Ludicrous mode to Standard or Silent brings immediate improvement.
Lower the chamber fan to 50–60 % via custom G-code or profile edits. The auxiliary part-cooling fan can often run at similar levels without quality loss on many materials.
Decision Workflow for Persistent Noise
flowchart TD
    Start[Start] --> Firmware{Firmware updated and calibrated?}
    Firmware -->|Yes| Belts[Check belt tension]
    Firmware -->|No| Calibration[Run Motor Noise Calibration]
    Belts --> Tension{Belts at ~100 Hz and matched?}
    Tension -->|Yes| Decouple[Add mass decoupling]
    Tension -->|No| Adjust[Adjust and lock tensioners]
    Decouple --> Idlers{Idlers lubricated?}
    Adjust --> Idlers
    Idlers -->|Yes| Settings[Modify print settings]
    Idlers -->|No| Grease[Apply grease to flanges]
    Settings --> StillNoisy{Still noisy?}
    Grease --> StillNoisy
    StillNoisy -->|Yes| Paver[Consider concrete paver solution]
    StillNoisy -->|No| Done[Noise resolved]
Practical Takeaways
- Start with the firmware calibration—it needs no parts and gives the broadest improvement.
- Combine belt tuning with idler lubrication for mechanical squeaks before buying feet or pavers.
- Concrete paver decoupling remains the most reliable method when the printer shares a desk or shelf with other equipment.
These steps target the main sources of P1S noise—motor harmonics, belt resonance, and structural coupling—while keeping the printer’s native speed and precision intact.