Mastering TPU: The Definitive Guide to Printing Flexible Parts
How to eliminate jams and achieve industrial-grade results with flexible filaments in your home workshop.
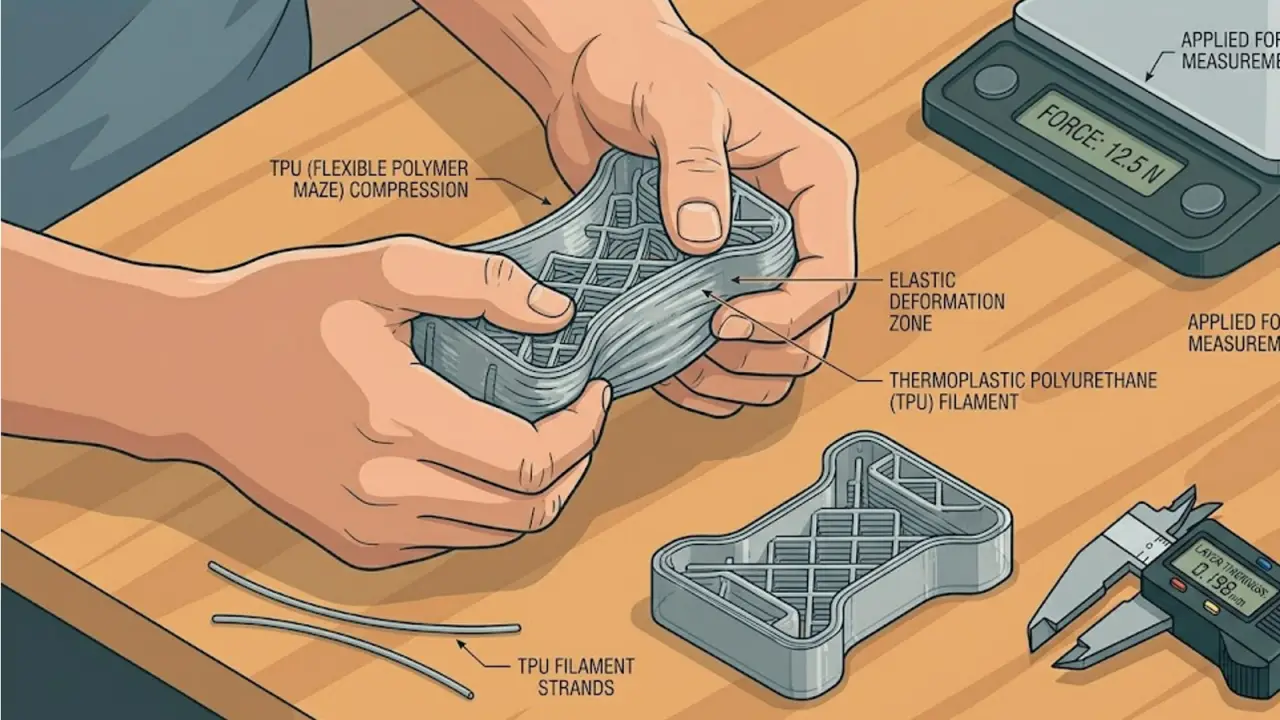
Flexible filaments like TPU (Thermoplastic Polyurethane) are the most underutilized tools in the DIY engineer’s arsenal. While everyone is focused on rigid frames, the real ‘pro’ builds in 2026 utilize TPU for gaskets, vibration isolators, and impact-resistant bumpers.
However, TPU is notoriously difficult to print if your setup isn’t tuned for its unique physical properties. It is often described as ‘trying to push a wet noodle through a straw.’ Here is how to master it without the constant jams and stringing.
Hardware Requirements for 2026
If you are still using a Bowden-style extruder (where the motor is far from the nozzle), printing TPU will be a constant struggle. For reliable results, a Direct-Drive system is mandatory.
- Filament Dryness: TPU is extremely hygroscopic. In 2026, we don’t just ‘recommend’ drying; it is a requirement. Even a few hours of exposure to humidity will cause ‘popping’ in the nozzle and ruined surface finishes.
- Pressure Advance Tuning: Because TPU is elastic, it continues to ‘ooze’ even after the extruder stops moving. Modern firmware like Klipper or Bambu OS utilizes Pressure Advance to predict this behavior and pull back the filament just in time.
Slicer Settings for Success
- Speed: Slow down. Even high-speed printers should drop to 30-50mm/s for TPU to prevent the filament from buckling in the extruder gears.
- Retraction: Keep it minimal. Too much retraction can cause the soft filament to wrap around the drive gear.
- Cooling: Use 100% fan speed for TPU. You want the plastic to freeze the moment it leaves the nozzle to prevent ‘drooping’ on overhangs.
Mastering flexibles allows you to create ‘living hinges’ and integrated seals that are impossible with standard rigid plastics. It is the bridge between a static model and a functional mechanical device.