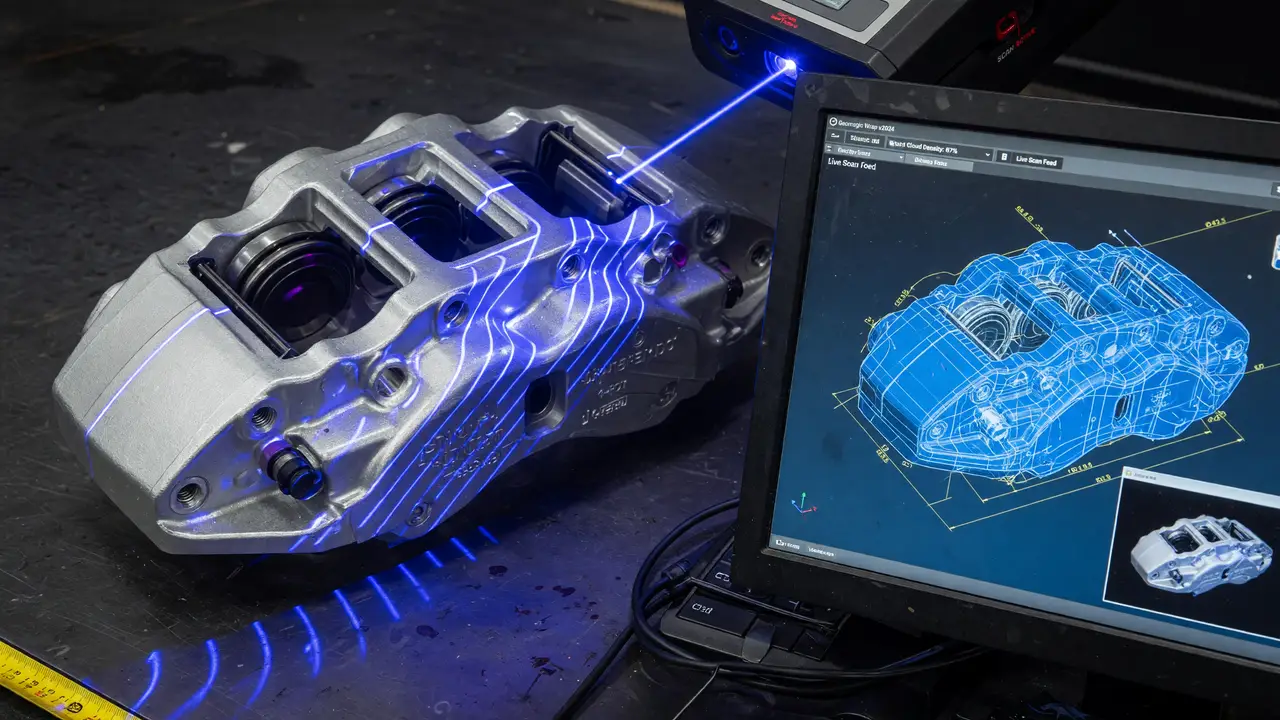
Reverse Engineering with 3D Scanning: From Physical Car Part to CAD Model
Learn how to reverse engineer obsolete car parts using portable 3D scanners like Creaform, Shining 3D, and Artec, plus mesh-to-CAD workflows in Geomagic Design X.
Re-creating an obsolete automotive component usually starts with one battered physical part and no drawings. The real challenge is capturing its geometry at usable accuracy without weeks of manual measurements or thousands spent on CMM time.
Scanner Options for Automotive Reverse Engineering
Three portable systems show up most often in recent automotive work. Their specs differ in accuracy, how they handle surfaces, and cost.
| Scanner | Accuracy | Volumetric Accuracy | Speed | Price (2024) | Best For |
|---|---|---|---|---|---|
| Creaform HandySCAN BLACK Elite | 0.025–0.035 mm | 0.020 mm + 0.040 mm/m | 1.3–1.8 M pts/s | ~$18,500+ | Shiny OEM parts, tight tolerances |
| Shining 3D EinScan Pro HD | 0.04–0.045 mm | 0.045 mm + 0.3 mm/m | Up to 3 M pts/s | $7,699 | Body panels, cost-sensitive work |
| Artec Eva | 0.1 mm | 0.3 mm/m | 16 fps | ~€13,700 | Large panels, rapid coverage |
Creaform’s blue-laser scanner holds up well on the black or reflective plastics you find in taillights and trim. The EinScan Pro HD gives the lowest entry price while still hitting sub-0.05 mm accuracy in fixed-scan mode. Artec Eva trades some precision for a wide field of view that suits full door or hood panels.
Real-World Accuracy on Car Parts
Scanner specs rarely hold up once you move to three-meter body panels. After mesh-to-CAD conversion, actual results look like this:
- HandySCAN users reach 0.004–0.036 mm deviation on small-to-medium OEM parts when using VXmodel.
- EinScan Pro HD users see 0.2–0.5 mm total deviation on large surfaces once feature extraction and surfacing finish.
- Artec Eva users report 0.2–0.5 mm deviation on 3 m panels—fine for non-structural replacement parts.
These figures assume good marker placement and a temperature-controlled space. Larger parts pick up error roughly in line with the volumetric numbers above.
Software Costs and Workflow Choices
Mesh-to-CAD work usually runs through Geomagic Design X. Current subscription pricing breaks down this way:
- Design X Go: $1,900/year – basic mesh editing and SOLIDWORKS LiveTransfer
- Design X Plus: $4,190/year – adds direct scanner integration and advanced surfacing
- Design X Pro: $7,280/year – network licensing and the full feature set
Perpetual licenses start at $4,990 for Go but need annual maintenance. Most automotive jobs land in Design X Plus or Pro because automatic feature recognition (planes, cylinders, freeform patches) cuts modeling time sharply.
Recommended Workflow for a Mid-Size Body Panel
Here’s a practical sequence using the EinScan Pro HD and Design X Go. The steps flow like this:
flowchart TD
    A[Apply matte spray or markers<br/>to glossy surfaces] --> B[Capture in handheld HD mode<br/>at 0.2 mm point distance]
    B --> C[Align and merge scans<br/>then decimate to 1–2M triangles]
    C --> D[Import into Design X<br/>run automatic region detection]
    D --> E[Extract reference planes and curves<br/>build parametric surfaces]
E --> F[Export native SOLIDWORKS or STEP file<br/>via LiveTransfer]- Apply matte spray or markers to glossy surfaces.
- Capture in handheld HD mode at 0.2 mm point distance.
- Align and merge scans, then decimate to roughly 1–2 million triangles.
- Import into Design X and run automatic region detection.
- Extract reference planes and curves, then build parametric surfaces.
- Export a native SOLIDWORKS or STEP file with LiveTransfer.
Teams following this approach cut a typical taillight or bracket job from two weeks of manual work down to four-to-six hours of active modeling.
Practical Takeaways
- Budget under $10 k and only occasional work: EinScan Pro HD plus Design X Go subscription.
- Frequent OEM-grade work on shiny parts: HandySCAN BLACK Elite plus Design X Plus or Pro.
- Large, low-tolerance panels: Artec Eva for speed, accepting slightly lower final accuracy.
Pick the scanner whose volumetric error stays inside your required tolerance after the full mesh-to-CAD process, not just the single-scan spec.
Portable 3D scanning has made reverse engineering of car parts practical at several price points. The key decisions stay straightforward: match scanner accuracy and surface capability to part size and finish, then use software that pulls out usable parametric geometry instead of leaving you with an uneditable mesh.