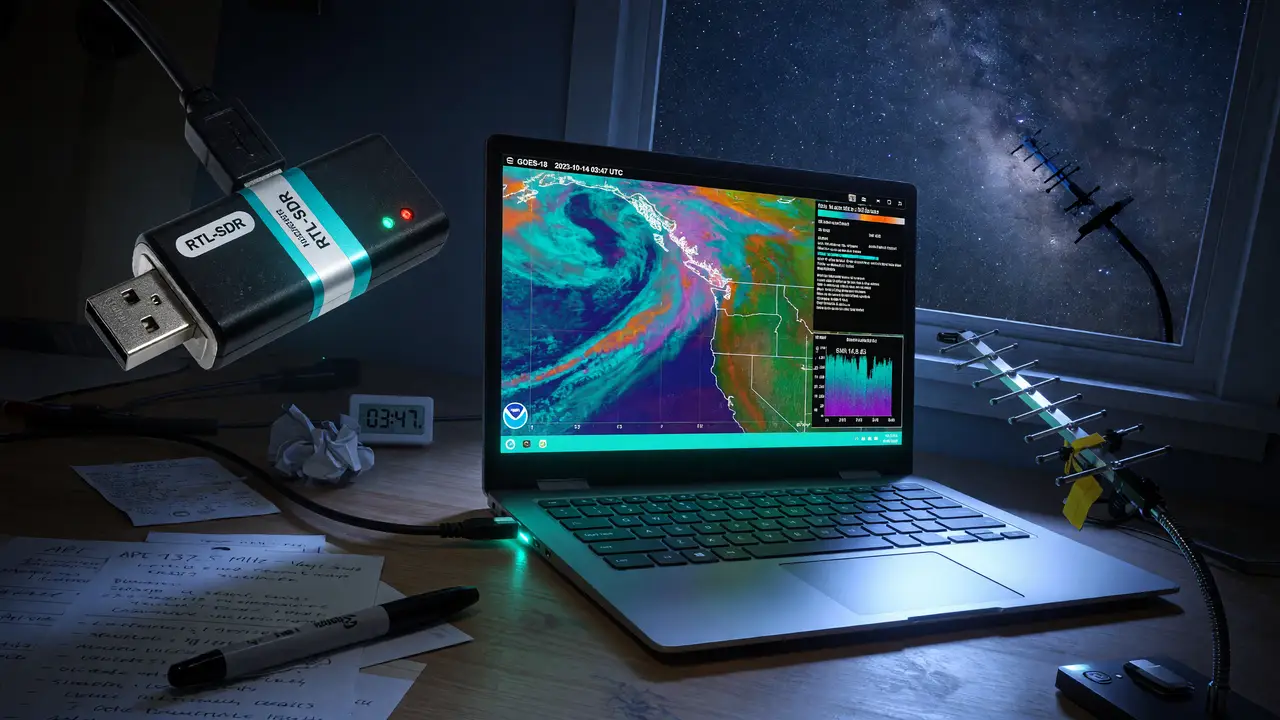
Hack the Airwaves: Getting Started with RTL-SDR for Tracking Weather Satellites
Learn how to receive live NOAA weather satellite images with a $30 RTL-SDR dongle. Setup guide using SatDump for APT signals in the 137 MHz band.
Pull live weather imagery from satellites passing overhead with a $30 USB stick. The RTL-SDR Blog V4 turns an ordinary computer into a receiver for NOAA APT signals in the 137 MHz band.
The RTL-SDR V4: Your Entry Point
The RTL-SDR Blog V4 tunes from 500 kHz to 1.766 GHz. It includes an internal upconverter for HF work and switches to direct sampling above 28.8 MHz. The R828D tuner, 1 PPM TCXO, and software-switchable bias tee (4.5 V / 180 mA) come standard. An aluminum case and thermal pad help keep the 8-bit ADC stable through long satellite passes.
At $29.95 for the dongle or $39.95 with the dipole kit, it remains the cheapest receiver that can reliably pull the 34–50 kHz APT signal. Usable bandwidth sits around 2.4 MHz—plenty for the narrow NOAA transmissions.
Hardware You Need
NOAA 15, 18, and 19 transmit on these frequencies:
- NOAA 15: 137.620 MHz
- NOAA 18: 137.9125 MHz
- NOAA 19: 137.100 MHz
All signals use right-hand circular polarization (RHCP). A basic linear dipole drops about 3 dB on average, so an RHCP antenna is worth building or buying.
Place the antenna outside with a clear sky view. No tracking mount is needed—low-Earth-orbit passes last 10–15 minutes. An LNA such as the Nooelec SAWbird+ or the RTL-SDR version, mounted at the antenna, helps with low-elevation passes.
Recommended Antenna Options
| Antenna Type | Gain | Difficulty | Notes |
|---|---|---|---|
| Quadrifilar Helix (QFH) | 3–5 dBiC | Medium | Best overall pattern |
| Turnstile / DCA | 2–2.7 dBiC | Low | Good compromise, easy build |
| V-dipole (120° angle) | ~0 dBi | Very low | Acceptable with RTL-SDR kit |
Decoding Workflow with SatDump
WXtoImg still works but receives no updates. Most people have moved to SatDump (v1.1.0+), which supports the RTL-SDR natively, handles multi-satellite scheduling, and processes both APT and LRPT.
A typical capture runs like this:
flowchart TD
    A[RTL-SDR V4] -->|137 MHz NFM| B[SatDump]
    B --> C[Raw IQ recording]
    C --> D[APT demod + image decode]
    D --> E[False-color composite]
Run SatDump in scheduler mode so it only records during predicted passes. The recorded files then turn into visible, infrared, and false-color images.
How It Compares to Other SDRs
Several other receivers can handle 137 MHz. Here’s how they stack up for NOAA APT work:
| Device | Price | ADC | Bandwidth | Notes for NOAA APT |
|---|---|---|---|---|
| RTL-SDR Blog V4 | $29.95 | 8-bit | 2.4 MHz | Lowest cost, sufficient |
| Nooelec NESDR SMArt v5 | $41.95 | 8-bit | 2.4 MHz | Slightly better TCXO |
| Airspy Mini | $99 | 12-bit | 6 MHz | Higher dynamic range |
| SDRplay RSP1B | $99–120 | 14-bit | Wide | Excellent overload resistance |
If strong VHF transmitters sit nearby, the Airspy Mini or RSP1B give cleaner results. For most users the RTL-SDR V4 is still the sensible place to start.
Practical Next Steps
- Pick up the RTL-SDR Blog V4 and a basic RHCP antenna.
- Install SatDump and test the bias tee with your LNA.
- Check an online pass predictor for the next NOAA overflight.
- Record a 10-minute pass and decode the first image.
Once the setup is running you can move on to Meteor-M LRPT or try higher-gain QFH designs.