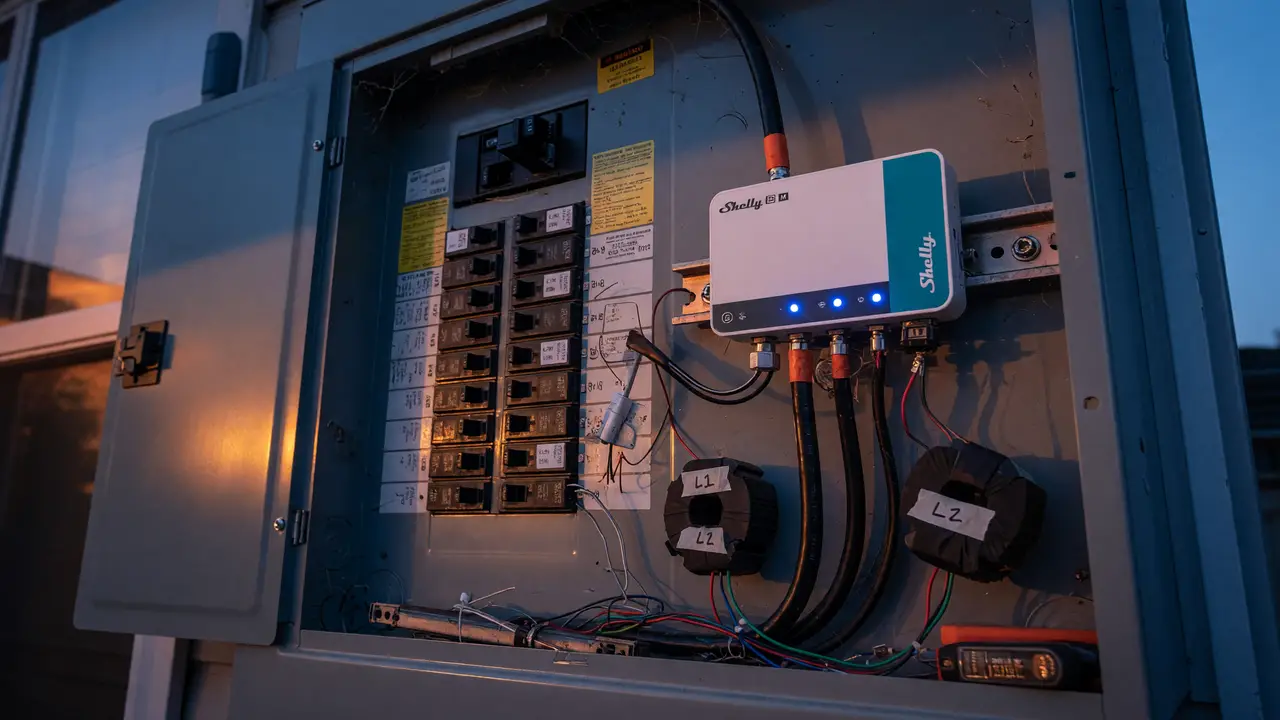
Review: Smart Home Energy Monitoring – Shelly EM vs DIY Current Transformers
Compare Shelly EM vs DIY SCT-013 + ESP32 setups for real-time smart home circuit monitoring: specs, pricing, accuracy, safety, and Home Assistant integration.
Energy monitoring has moved past monthly bills. Now it’s about tracking individual circuits in real time. Most people end up choosing between a ready-to-go commercial unit like the Shelly EM and a custom build using split-core current transformers—typically the SCT-013-000 paired with an ESP32. Both approaches give usable data, but they differ in setup time, calibration consistency, and what ownership feels like after a few months.
Core Specifications Side-by-Side
Shelly EM units come with factory-paired clamps and fixed firmware. DIY builds force you to pick the right burden resistor and handle ADC scaling yourself.
| Feature | Shelly EM (Gen3) | DIY SCT-013-000 + ESP32 |
|---|---|---|
| Current range | 0–80 A (standard clamp) | 0–100 A (with 22 Ω burden) |
| Accuracy (factory) | ±2 % (2–50 A) | ±1 % linearity; ±2–5 % after calibration |
| Sampling interval | ~15 s power, 1 min energy | User-defined (typically 1–5 s) |
| Local storage | 10 days at 1 min resolution | SD card or MQTT logging (unlimited) |
| Connectivity | Wi-Fi + Bluetooth (Gen3) | Wi-Fi via ESP32; optional Ethernet |
| Dimensions (monitor) | 37 × 42 × 16 mm | ESP32 board + separate burden resistors |
Pricing Reality Check
A Shelly EM Gen3 bundle with a 50 A clamp usually lands between $42 on sale and $70 at full price. A comparable DIY kit—SCT-013-000, 22 Ω burden resistor, TVS diode, and ESP32 DevKit—runs $18–30 before you add an enclosure or wiring.
| Option | Typical Cost | Includes CTs? | Ongoing Cloud? |
|---|---|---|---|
| Shelly EM Gen3 bundle | $50–70 | Yes | Optional |
| Premium (Emporia Vue 3) | $100 | Yes (multi) | Optional |
| DIY SCT-013 + ESP32 | $18–30 | Yes | None |
Prices reflect late-2024/early-2025 listings from official Shelly channels and common marketplaces.
Installation and Safety Considerations
Both options rely on non-invasive split-core transformers. The Shelly arrives pre-terminated and UL-listed for the clamp it ships with. DIY setups need soldering or screw terminals plus a burden resistor sized so peak voltage stays under the ADC reference—usually 1.1 V RMS at 100 A.
- Route the CT around the hot conductor only; reversing it gives negative readings.
- Stay within 18–33 Ω for the SCT-013-000 to avoid saturation before 100 A.
- Panel work still requires proper breaker isolation no matter which route you take.
Accuracy and Calibration Effort
Shelly units ship calibrated for their included clamps. Independent tests show ±1–3 % against reference meters on resistive loads, with drift staying under 5 % over months when installed correctly. DIY accuracy hinges on resistor tolerance, ADC stability, and your code. OpenEnergyMonitor bench data shows <2 % error with a 22 Ω burden once you calibrate against a known resistive heater.
“Factory calibration removes the largest source of variance for most users.” — Home Assistant community consensus, 2024–2025 threads
Stock Shelly firmware gives you no user offset. Tasmota or ESPHome restores that control. A typical ESPHome config for the DIY route looks like this:
sensor:
  - platform: ct_clamp
    sensor: adc_sensor
    name: "Main Current"
    burden_resistor: 22Ω
    current_resistor: 22Ω
    samples: 32
    update_interval: 5s
Integration Depth and Local Control
Shelly supports native Home Assistant discovery plus local HTTP and MQTT endpoints. The Gen3 model adds Bluetooth beacon support for quicker onboarding. DIY ESP32 projects integrate through ESPHome or Tasmota with full MQTT control and no cloud requirement at all. Solar export monitoring works on both platforms once you verify CT direction and phase alignment.
Practical Takeaways
- Go with the Shelly if you want reliable readings inside an hour and no soldering.
- Build it yourself if you need sub-second sampling, custom logging, or want to stay under $30 per circuit.
- Both handle 120/240 V split-phase as long as you follow basic CT placement rules.
The real question is whether the time saved by a pre-calibrated unit matters more to you than the flexibility and lower cost of a properly built custom setup.