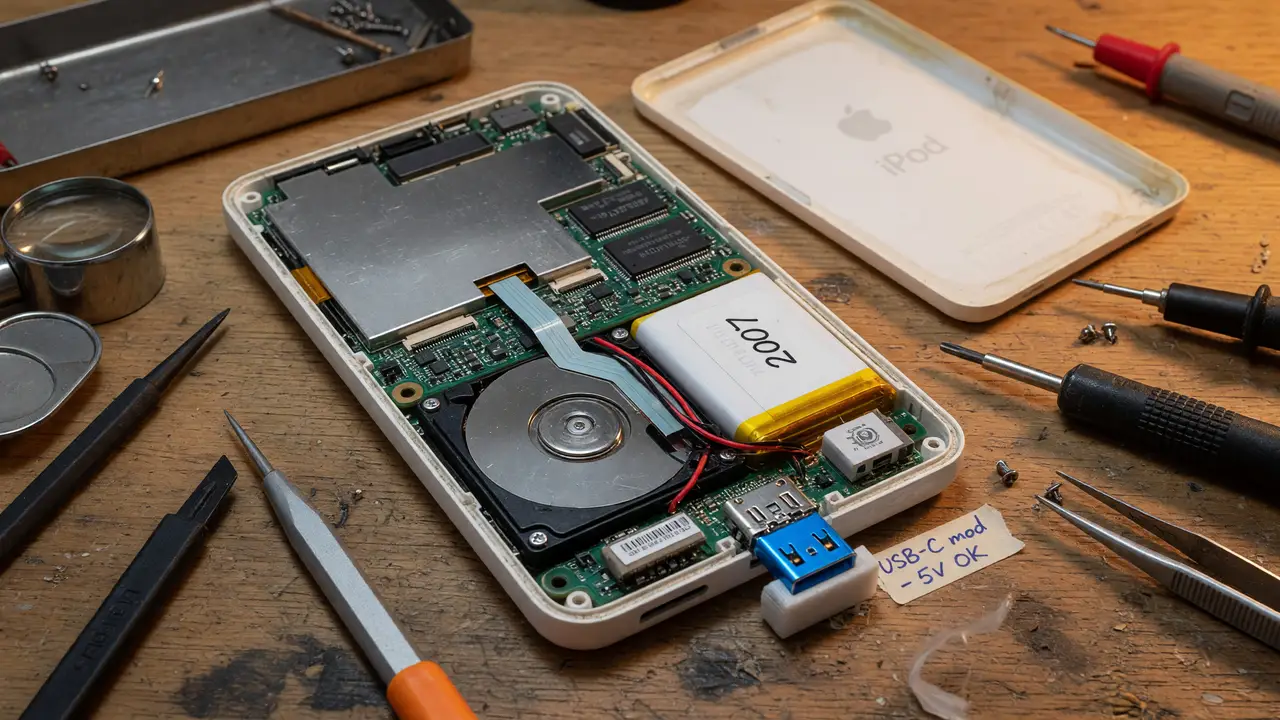
USB-C Modding a 2000s iPod Classic: Step-by-Step Hardware Guide
Step-by-step guide to converting 5th-7th gen iPod Classics to USB-C. Covers compatible models, kits, pinouts, wiring, tools, and post-install checks.
The 30-pin dock connector on 5th- through 7th-generation iPod Classics feels dated in 2025. These players still hold appeal thanks to their Wolfson DACs, expandable storage, and solid aluminum cases. Swapping the old port for USB-C brings back normal charging and syncing without losing the hardware you like.
Compatible Generations and Internal Layouts
Three generations work best. They share the same 30-pin interface and leave enough room inside for a clean install.
- 5th / 5.5th gen (A1136 / A1237): Easiest case to open and the most documented route. Handles 512 GB flash upgrades without issues.
- 6th / 6.5th gen (A1238): Nearly the same steps as the 5th gen.
- 7th gen (A1238 variants): Thinner body, yet still fits a 1 TB SSD and Bluetooth in one build.
Earlier models (1st–4th gen) show up less often in guides—their controllers and tighter internals make the job messier.
Kit Options Versus Pure DIY
You have three realistic choices for the conversion.
Moonlit Market V2 drops in a top-mounted USB-C port that keeps the original 30-pin connector and adds Bluetooth plus wireless charging.
Classic Connect 2 uses a solderless board for 5th–7th gen units. Charging works right away, but full data sync needs a bit of wiring.
Generic USB-C boards from AliExpress or eBay cost the least but require soldering four wires by hand.
| Kit | Install Type | Charging | Data Sync | Extras | Best For |
|---|---|---|---|---|---|
| Moonlit Market V2 | Drop-in | Yes | Yes | BT + wireless charging | Feature-complete builds |
| Classic Connect 2 | Solderless | Yes | Soldering req. | BT, haptics, wireless | Minimal soldering |
| Generic USB-C board | Full DIY | Yes | Yes | None | Budget or custom routing |
Connector Pinout and Wire Specifications
You only need four signals. Bridge ground pins 15 and 16, then run one 30–32 AWG wire to the USB-C ground. Connect the rest like this:
- 5 V power → Pin 8
- USB D+ → Pin 27
- USB D– → Pin 6
- Ground → Pins 15 + 16 (bridged)
Tin the wire ends and add heat-shrink tubing at the USB-C board to avoid shorts. The mod supports 5 V charging and USB 2.0 data only—no Power Delivery or video output.
Recommended Tools and Workflow
Grab these before you crack the case open:
- Plastic spudgers and a suction cup
- Fine-tip soldering iron (keep it at 350 °C max)
- 30–32 AWG silicone wire, flux, and 0.8 mm solder
- USB-C receptacle or kit board
- Optional: iFlash SSD adapter and a bigger battery (many people do both at once)
Work on a static-safe surface. Open the rear panel, disconnect the battery, then desolder the original 30-pin flex. Route the four new wires along the existing harness so they stay clear of the battery. Check continuity before you close it up.
graph TD
    A[Open case & disconnect battery] --> B[Desolder 30-pin flex]
    B --> C[Route 4 wires along harness]
    C --> D[Tin ends & add heat-shrink]
    D --> E[Test continuity]
    E --> F[Reassemble & verify]
Post-Installation Checks and Firmware
Most people pair the USB-C swap with a flash storage upgrade. Original firmware on 6th- and 7th-gen units can cap the visible capacity. Rockbox lifts those limits and adds better codec support. Battery drain stays about the same after the mod, though plenty of builders fit a 3000 mAh cell while they’re in there.
Long-term reliability depends on strain relief at the USB-C port. Thin wires fatigue if the connector sees repeated side loads.
Key Takeaways
- Start with 5th–7th gen units for the easiest path.
- Pick between premium kits (Moonlit, Classic Connect) and generic boards based on how much soldering you want to do.
- Wire only the four essential 30-pin signals.
- Use Rockbox if you want maximum storage compatibility.
Once finished, the iPod charges from any USB-C charger or power bank and syncs at USB 2.0 speeds while keeping the original audio hardware intact.